All These Shapes Can Be Made with Geom-e-Tree!You don't have to be a Rocket Scientist to make or enjoy these patterns! It's an immersive experience to see how the tree morphs from oneposeto another. You can enjoy it again and again as you gain an intuitive appreciation of these natural patterns. We have not developed a naming system (taxonomy) for all these patterns, so their names may change in the future. Suggestions welcome! There are many more patterns. See our Poster that arranges 150 related Geom-e-Trees. The right column tells how to make the shapes and patterns. If you don't have a good eye for angle measurement, you may have to consult the Share/Save tab frequently to see how you are doing. Notation [N,θ,CR] defines the tree, where N is the number of branches at each node, θ is the angle between branches, and CR is the Common Ratio of one branch to the next. |
|
Kaleidoscopic Pattern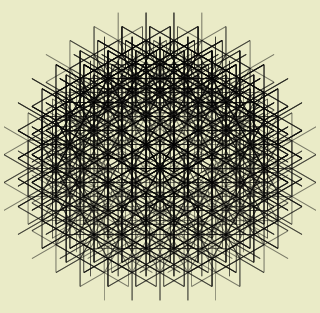
|
When the branches are not all lined up and overlaid like the grids on this page, you often get a kaleidoscopic pattern. The iPad-sized of this one is exquisite!
The smaller devices produce the iPad-sized image (with the finer details) for Photos or Mail.
You can click on this pattern to display a larger image, (768x1024, 300K). You may need to click on the resulting image if your browser window is set small and your cursor turns into a magnifying glass. To make this pattern, vivify the 4-branched tree from the Arboretum. Reduce the angle to where the three angles are 60° — the two outer branches will be straight across. Then pinch the common ratio down to 1.0. Good Luck... it's difficult! [4, 60°, 1.0] |
The R.Crumb Tree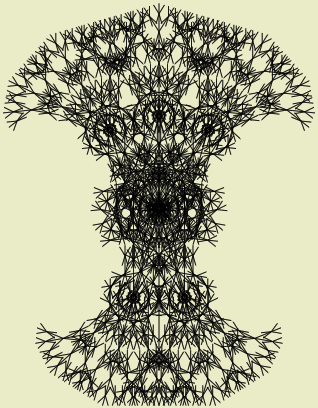
|
Start with a five-branched tree. Double tap to turn on the perfect reduction factor for a while.
Open the angle up, way up.. past the pentagon at 144° to where three of the branches point up, the other two branches down. Then pinch the tree into itself to get the even more crazy overlapping pattern. I call it R.Crumb because it reminds me of the many cross-hatched lines in the artist's work..
You can see out on the ends of the branches that there are tiny trees all with two branches down and three branches up. |
African Design
|
This is just the R.Crumb Tree pinched down a little more, with the angle adjusted. There are many of these tribal shield-like patterns.
[5, 165°, 1.72] depending on your own taste. |
Equilateral Triangle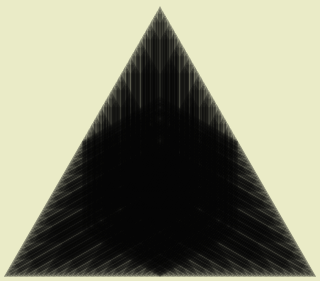
|
Vivify a ternary (3 branched) tree from the Arboretum.
The angle between branches is already at 120°.
Pinch it all the way down till it turns red.
[3, 120°, 0.5] By continuing to decrease the angle, you will get more shapes as below. |
Square Diamond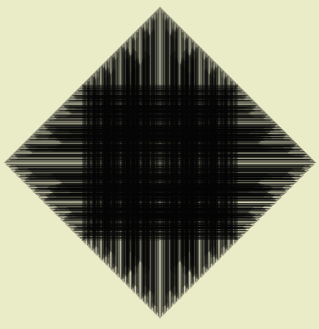
|
This is like the above Equilateral Triangle. Just decrease the angle to 90° by moving your finger upward. Single tap in the upper or lower half of display to make one degree changes if needed.
[3, 90°, 0.5] |
Square with Flair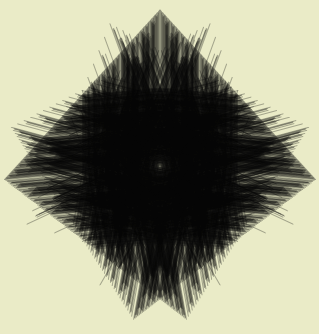
|
Start with the Square Diamond above, just tap the lower half of the screen six times slowly and this is what you'll see.
[3, 96°, 0.500] |
Pentagon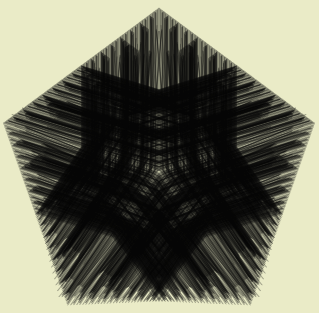
|
Start with the 3-branched tree or the above Square Diamond or Square with Flair.
Adjust the angle to 72° and then pinch it down.
Ooops! I see that this was accidentally made at 73°! Can you see what I see? [3, 73°, 0.500] |
Hexagon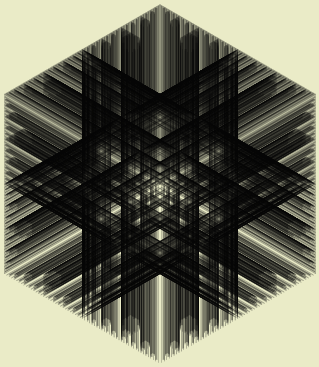
|
Start with the 3-branched tree or the above pentagon.
Adjust angle to 60° and then pinch it down.
[3, 60°, 0.500] You'll find a fantastic Octagon at 45°! |
The binary rectangle or square leaf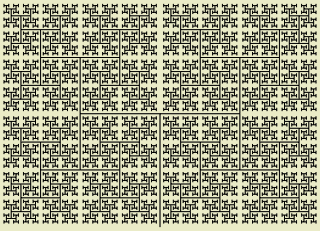
|
This is the Binary Tree at 180° with "perfect" reduction factor (see FAQ).
You can find it in the Arboretum, tree number 1.
Pinching this tree down leads to all kinds of crazy patterns. |
Isosceles Triangle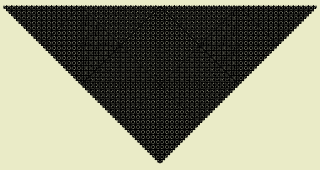
|
Start with a 2-branched (binary) tree in perfect reduction factor mode (i.e. double tapped).
Wind the angle all the way around to 270°.
That should make the Triangle.
You can pinch the common ratio a bit to close up the spaces. Put separate fingers in opposite corners of the display to have maximum control over the CR adjustment. |
Isometric Grid (#3)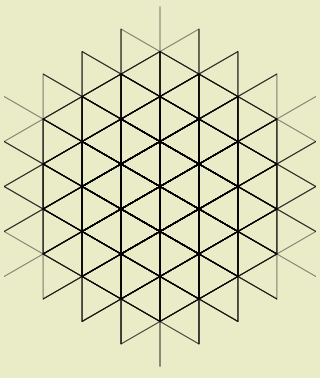
|
Start with the seven-branched tree, reduce the angle to 60°, then pinch it down to get the triangles lined up. You'll see a much larger isometric grid (more triangles) on the way down to this one.
[7, 60° 1.00] |
Isometric Grid (#4)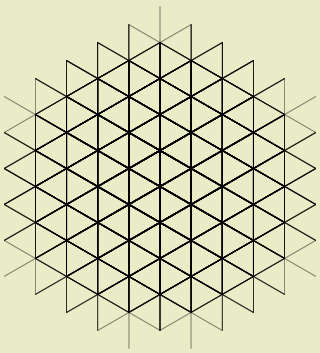
|
Start with the five-branched tree, reduce the angle to 60°, then pinch it down to get the triangles lined up.
[5, 60° 1.00] |
Isometric Grid (#7)
|
Start with the three-branched tree, reduce the angle to 60°, then pinch it down to get the triangles lined up. This pattern is just 30° away from the Square Grid (#13).
[3, 60°, 1.00] |
Hexagonal Grid (#3)
|
Start with the 4-branched tree. Wind it around to 120° where you will see that one of the branches completely overlays another branch. Pinch down to see the hexagons and enjoy the ride.
[4, 120°, 1.00] |
| The following three patterns are just degrees apart! | |
Square Grid Like Dominos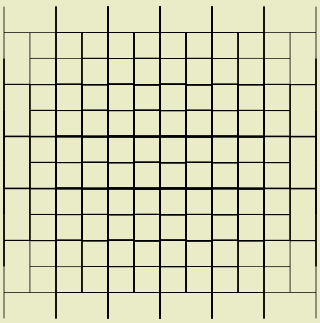
|
Vivify the 2-branched tree from the Arboretum. Pinch down to get the squares.
[2,180°,0.997...1.001] |
Hexagonal Grid (#5)
|
Decrease the angle from the above 'Square Grid Like Dominos' to 120°.
You can fudge the common ratio to get different effects with the line widths and alignment.
[2, 120°, 1.0] |
Isometric Grid (inverted triangle)
|
Increase the angle from the 'Square Grid Like Dominos' or Hex Grid (#5) to 240°.
You can fudge the common ratio to get different effects with the line widths and alignment.
[2, 240°, 1.00] |
Square Grid (#6)
|
Vivify the 7-branched tree from the Arboretum. Change the angle to 90° and pinch down to get the squares.
[7, 90°, 1.0] |
Square Grid (#8)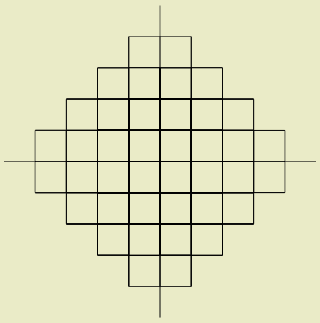
|
Vivify the 5-branched tree from the Arboretum. Change the angle to 90° and pinch down to get the squares.
[5, 90°, 1.002] |
Square Grid (#13)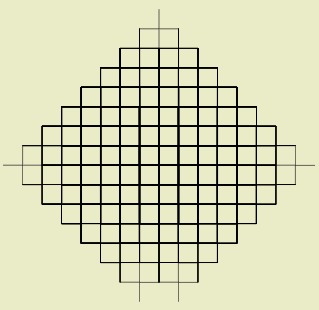
|
Vivify the 3-branched tree from the Arboretum. Change the angle to 90° and pinch down to get the squares.
[3, 90°, 0.998..1.001] |
Pentagon Peace Sign
|
Start with the 3-branched tree from the Arboretum. (The angle for this tree is 120°.)
Open it up to 144° and there are all the peace symbols. You know you are at 144° when the bottom of the largest Pentagon is straight across. Double-tapping won't change this pattern because it's already in the Perfect Reduction Factor mode. [3, 144°, 2.0] |
Five-Pointed Star
|
Start with the pattern above (3,144°,perfect) and just pinch it down. You may need to adjust the angle by a degree or two if you happened to have changed it. Can you make a seven-pointed star?
A future release of Geom-e-Tree (on MacOSX) will have a PDF option. For now, here is a PDF (115K) of the same star with 10 levels of branches. Hopefully, it will open within your browser. If not, get some PDF help from someone locally! [3, 144°, 0.5] |
Shooting Star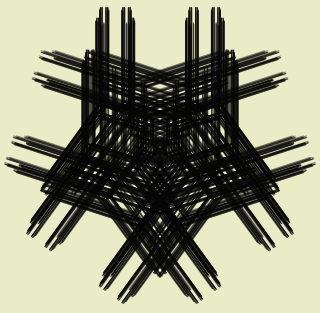
|
If you start from the above star (a three-branched tree) just tap two fingers at once in the lower half of the display to change it to a binary, or 2 branched tree. (A two finger tap increases or decreases the number of branches at each node.) |
You Name It!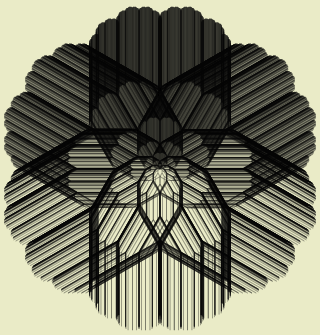
|
[2, 60°, 0.565] |
|
All the above images were cropped from iPhone 3GS screenshots. The same patterns on the iPad and iPhone screen have ~4x the detail. We are presenting the smaller images here to save bandwidth (load time) for this page.
You can click on the Kaleidoscopic Pattern to see a larger image, and the Five-Pointed Star has a download-able PDF so you can zoom in on it. |
|
Fun FactsConsider the size of tree when its common ratio is 0.5.. with branches doubling in length each level... I like to say that a particular tree that we've pinched onto the screen is about the size of the solar system, but it's been scaled down to fit on your iPad. (Seriously, most would be only a thousand or two times larger.) |
|
ProjectsSet up or join a Flickr (or other) group to collect and share trees on-line. Classify them as binary (2-branches), ternary, quaternary, quinternary, and so on. |
|
For the Open-Minded and Math-MindedOur Geom-e-Tree for the Math-Minded page has:
|
|
|
|
|